Spring Nails at Home: Budget DIY Nail Salon with Avon Polish & Nail Care
- Bruce Coffman
- Mar 13
- 3 min read


Salon nails are gorgeous… until the bill arrives.
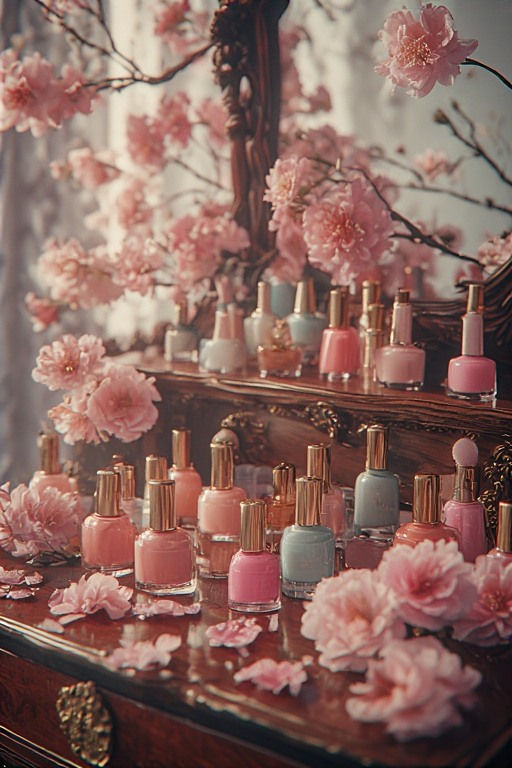
The good news? You can create beautiful spring nails at home with just a few simple tools and affordable Avon nail products.
Whether you're craving soft pastels, glossy neutrals, or playful spring colors, this DIY nail salon setup lets you treat yourself without paying salon prices.
At Better Trailers & Double Wides, we believe luxury is a vibe, not a price tag.
A little polish, a little self-care, and suddenly your kitchen table becomes a perfectly respectable nail salon.
Step 1: Start with a Clean Nail Base
A long-lasting manicure always begins with good prep. Remove old polish, gently shape nails with a file, and push back cuticles. This creates the smooth surface your polish needs to look even and glossy.
Once your nails are clean and dry, apply a thin layer of fmg Glimmer Nail Base and Top Coat.
This two-in-one formula works as both a primer and protective top coat, helping polish adhere better and adding a glossy finish that helps resist chipping. Think of it like priming a canvas before painting.
Step 2: Choose a Fresh Spring Nail Color
Spring is the perfect excuse to play with color.
Popular spring manicure shades include:
🌸 Soft blush pink
🌸 Lilac and lavender
🌸 Peachy coral
🌸 Fresh mint
🌸 Creamy nude
A couple thin coats of fmg Glimmer Nail Lacquer deliver rich color and a smooth finish that looks surprisingly salon-worthy. Many nail lovers prefer applying two thin coats instead of one thick coat for the most even color and shine. Let each layer dry for a minute or two before applying the next.
Step 3: Speed Up Drying Time
Nothing ruins a fresh manicure faster than a smudge. A simple trick to speed things up is using fmg Glimmer Nail Air Dry Drops. Just add a drop or two to each nail after polishing. These drops help nails dry faster and reduce the chances of accidental smears while your manicure sets. It’s the kind of small upgrade that makes DIY nails feel much more like a salon experience.
Step 4: Nourish Your Cuticles
Healthy cuticles make every manicure look more polished. After your polish dries, apply fmg Glimmer Nourished Nail Cuticle Oil around the nail bed and gently massage it in. The formula includes saffron oil, which helps condition dry cuticles and support healthier-looking nails. This step adds that subtle glow you usually only notice after a professional manicure. A small budget trick that gives that luxury glam touch without the big salon bill. Genius.
Step 5: Don’t Forget Your Pedicure
If you're creating a full DIY nail salon at home, your feet deserve attention too.
A simple kit like the Avon Foot Works Pedicure Kit gives you the basic tools to smooth and prep your feet before applying polish. It’s compact, easy to store, and perfect for turning a quick manicure session into a full spring self-care moment.
Turn Your Nail Routine into a Self-Care Ritual
The best part of doing your nails at home is that it becomes a little pocket of calm in your day.
Light a candle. Turn on a show. Ignore the outside world for thirty minutes.
Your nails dry… and your brain gets a break too.
Luxury Nails, Real-World Budget
Beautiful spring nails don’t require a salon appointment.
With a few affordable Avon nail products and a little time, you can create glossy, fresh spring nails at home whenever you want.
Because at Better Trailers & Double Wides we believe something simple:
Nice things. Real budgets.


Comments